

Tutorial: Embroidered Murmuration
how to stitch your very own embroidered murmuration

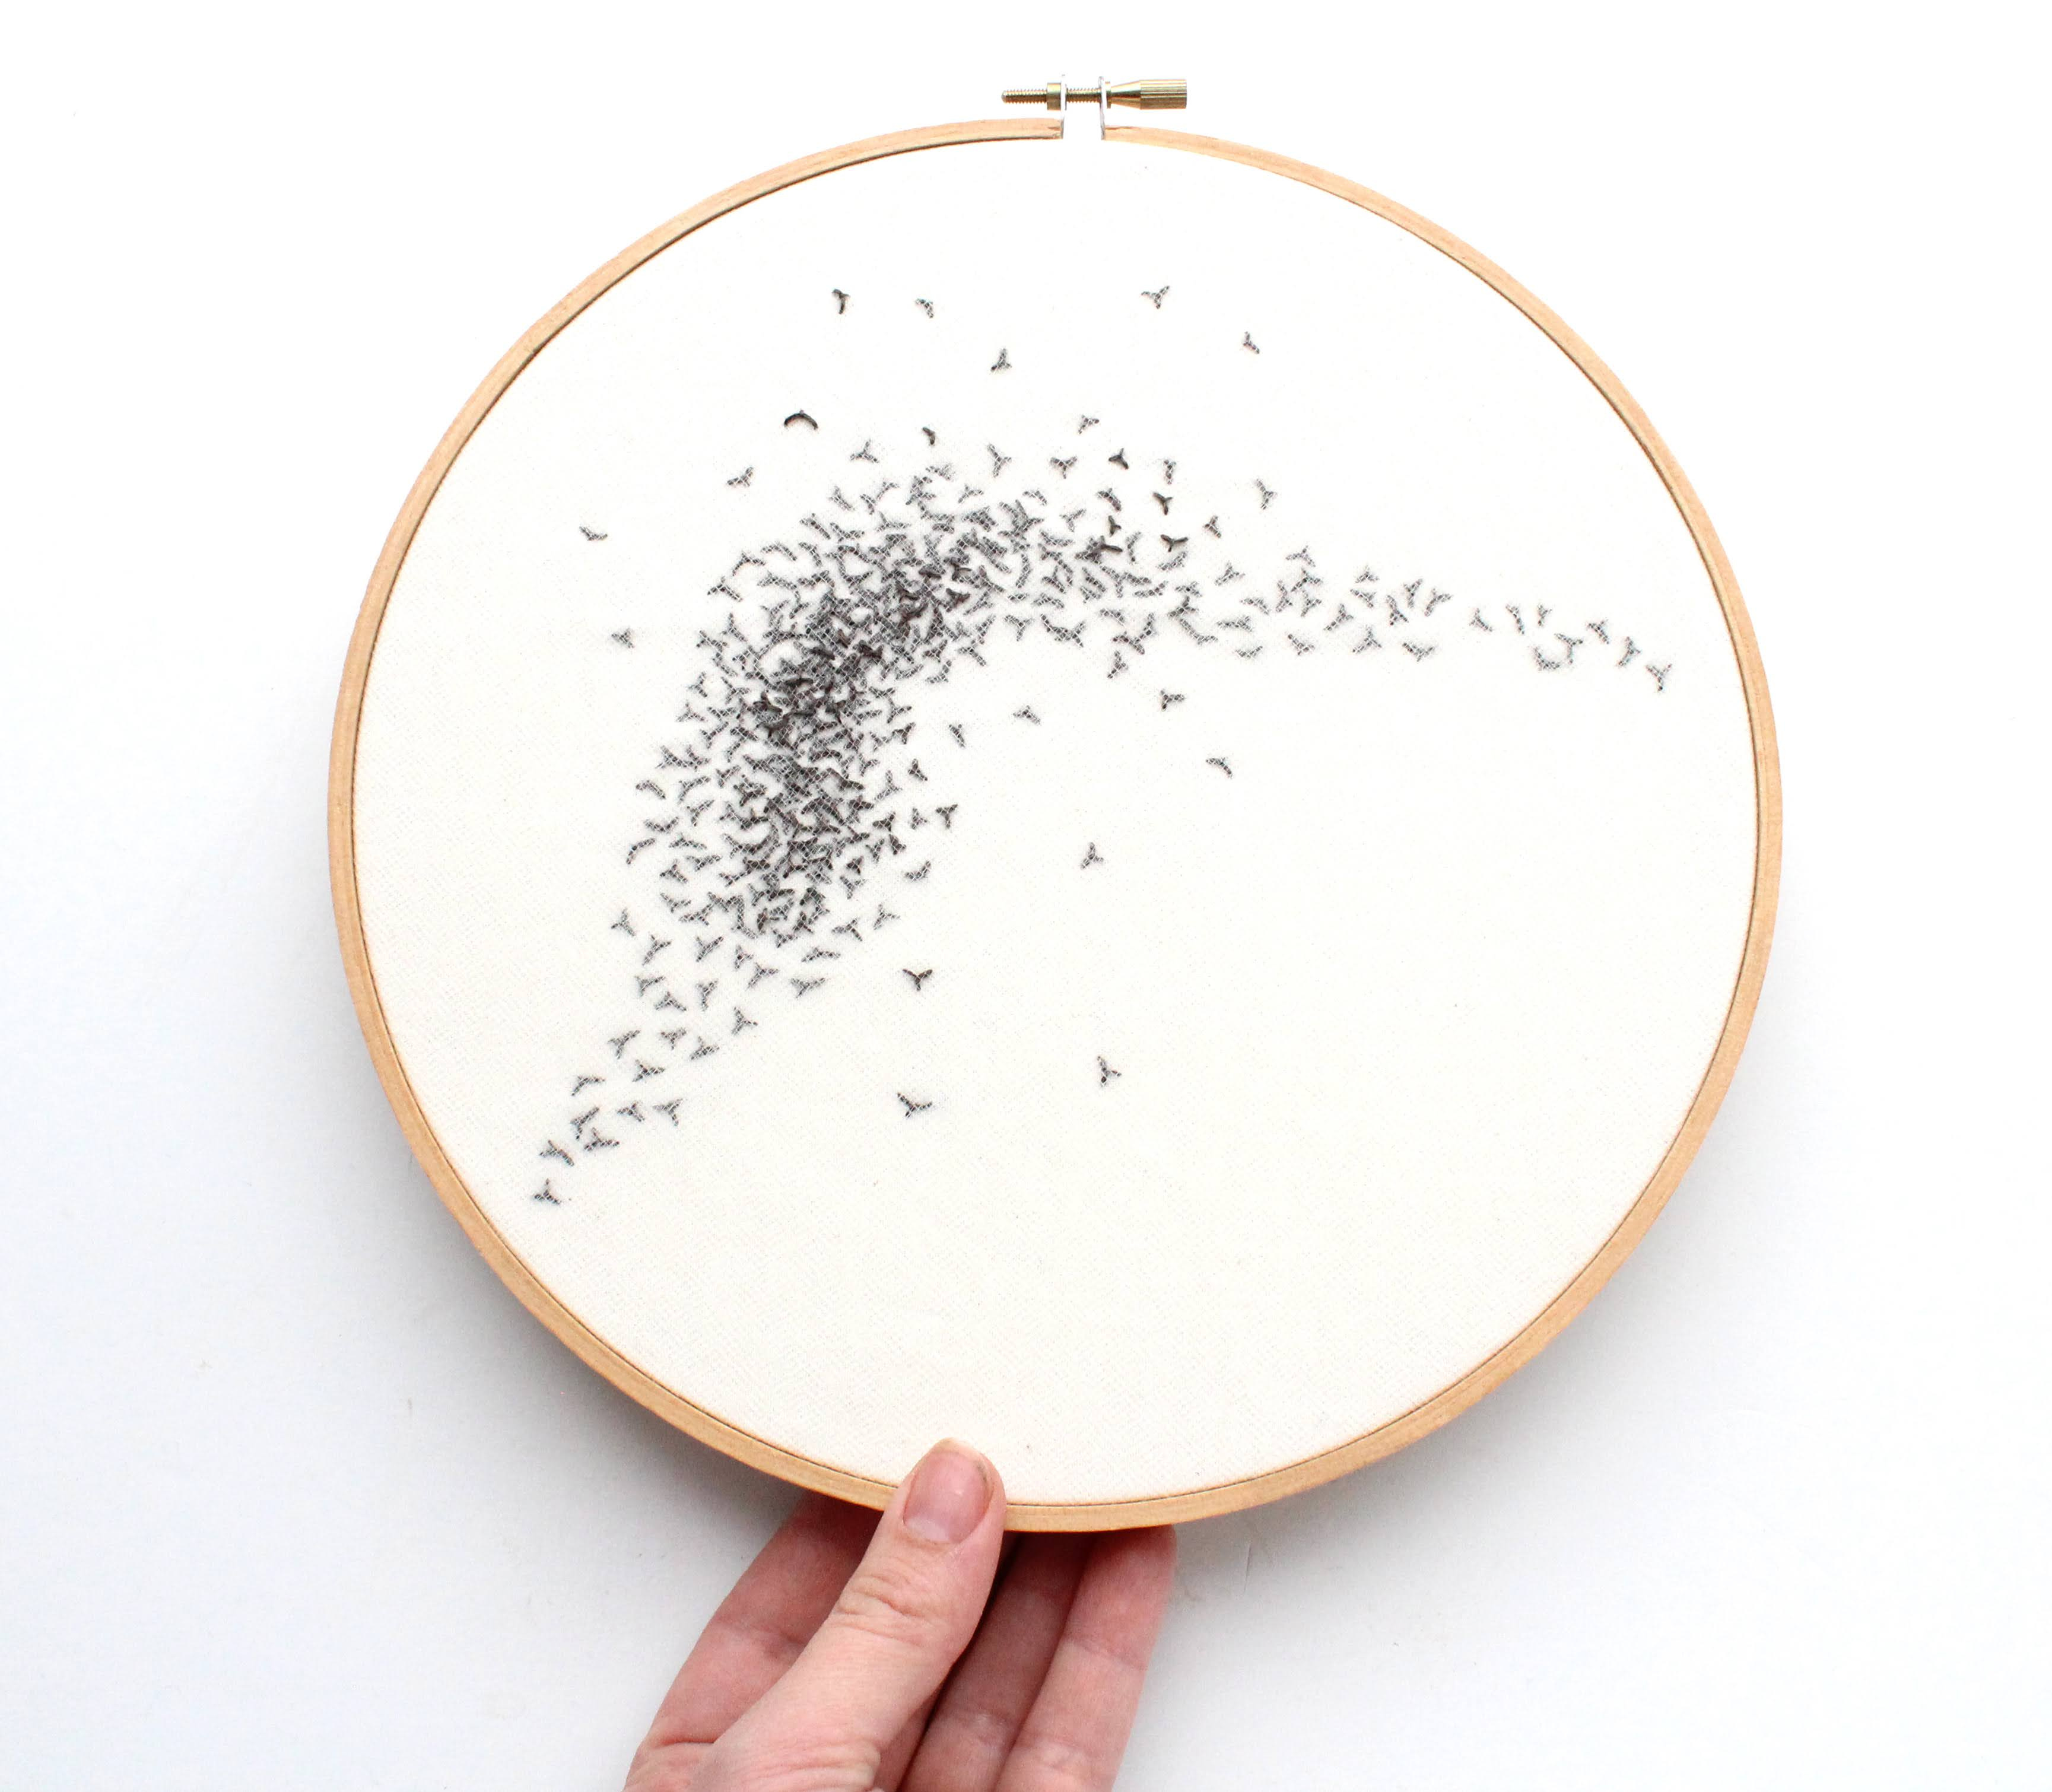
For years I’ve been wanting to share how I create my murmuration hoops. They are so nuanced (and yet so simple) that a pattern doesn’t really make sense, so a tutorial is the best way to share the process. Here’s how I create them from start to finish:
Materials
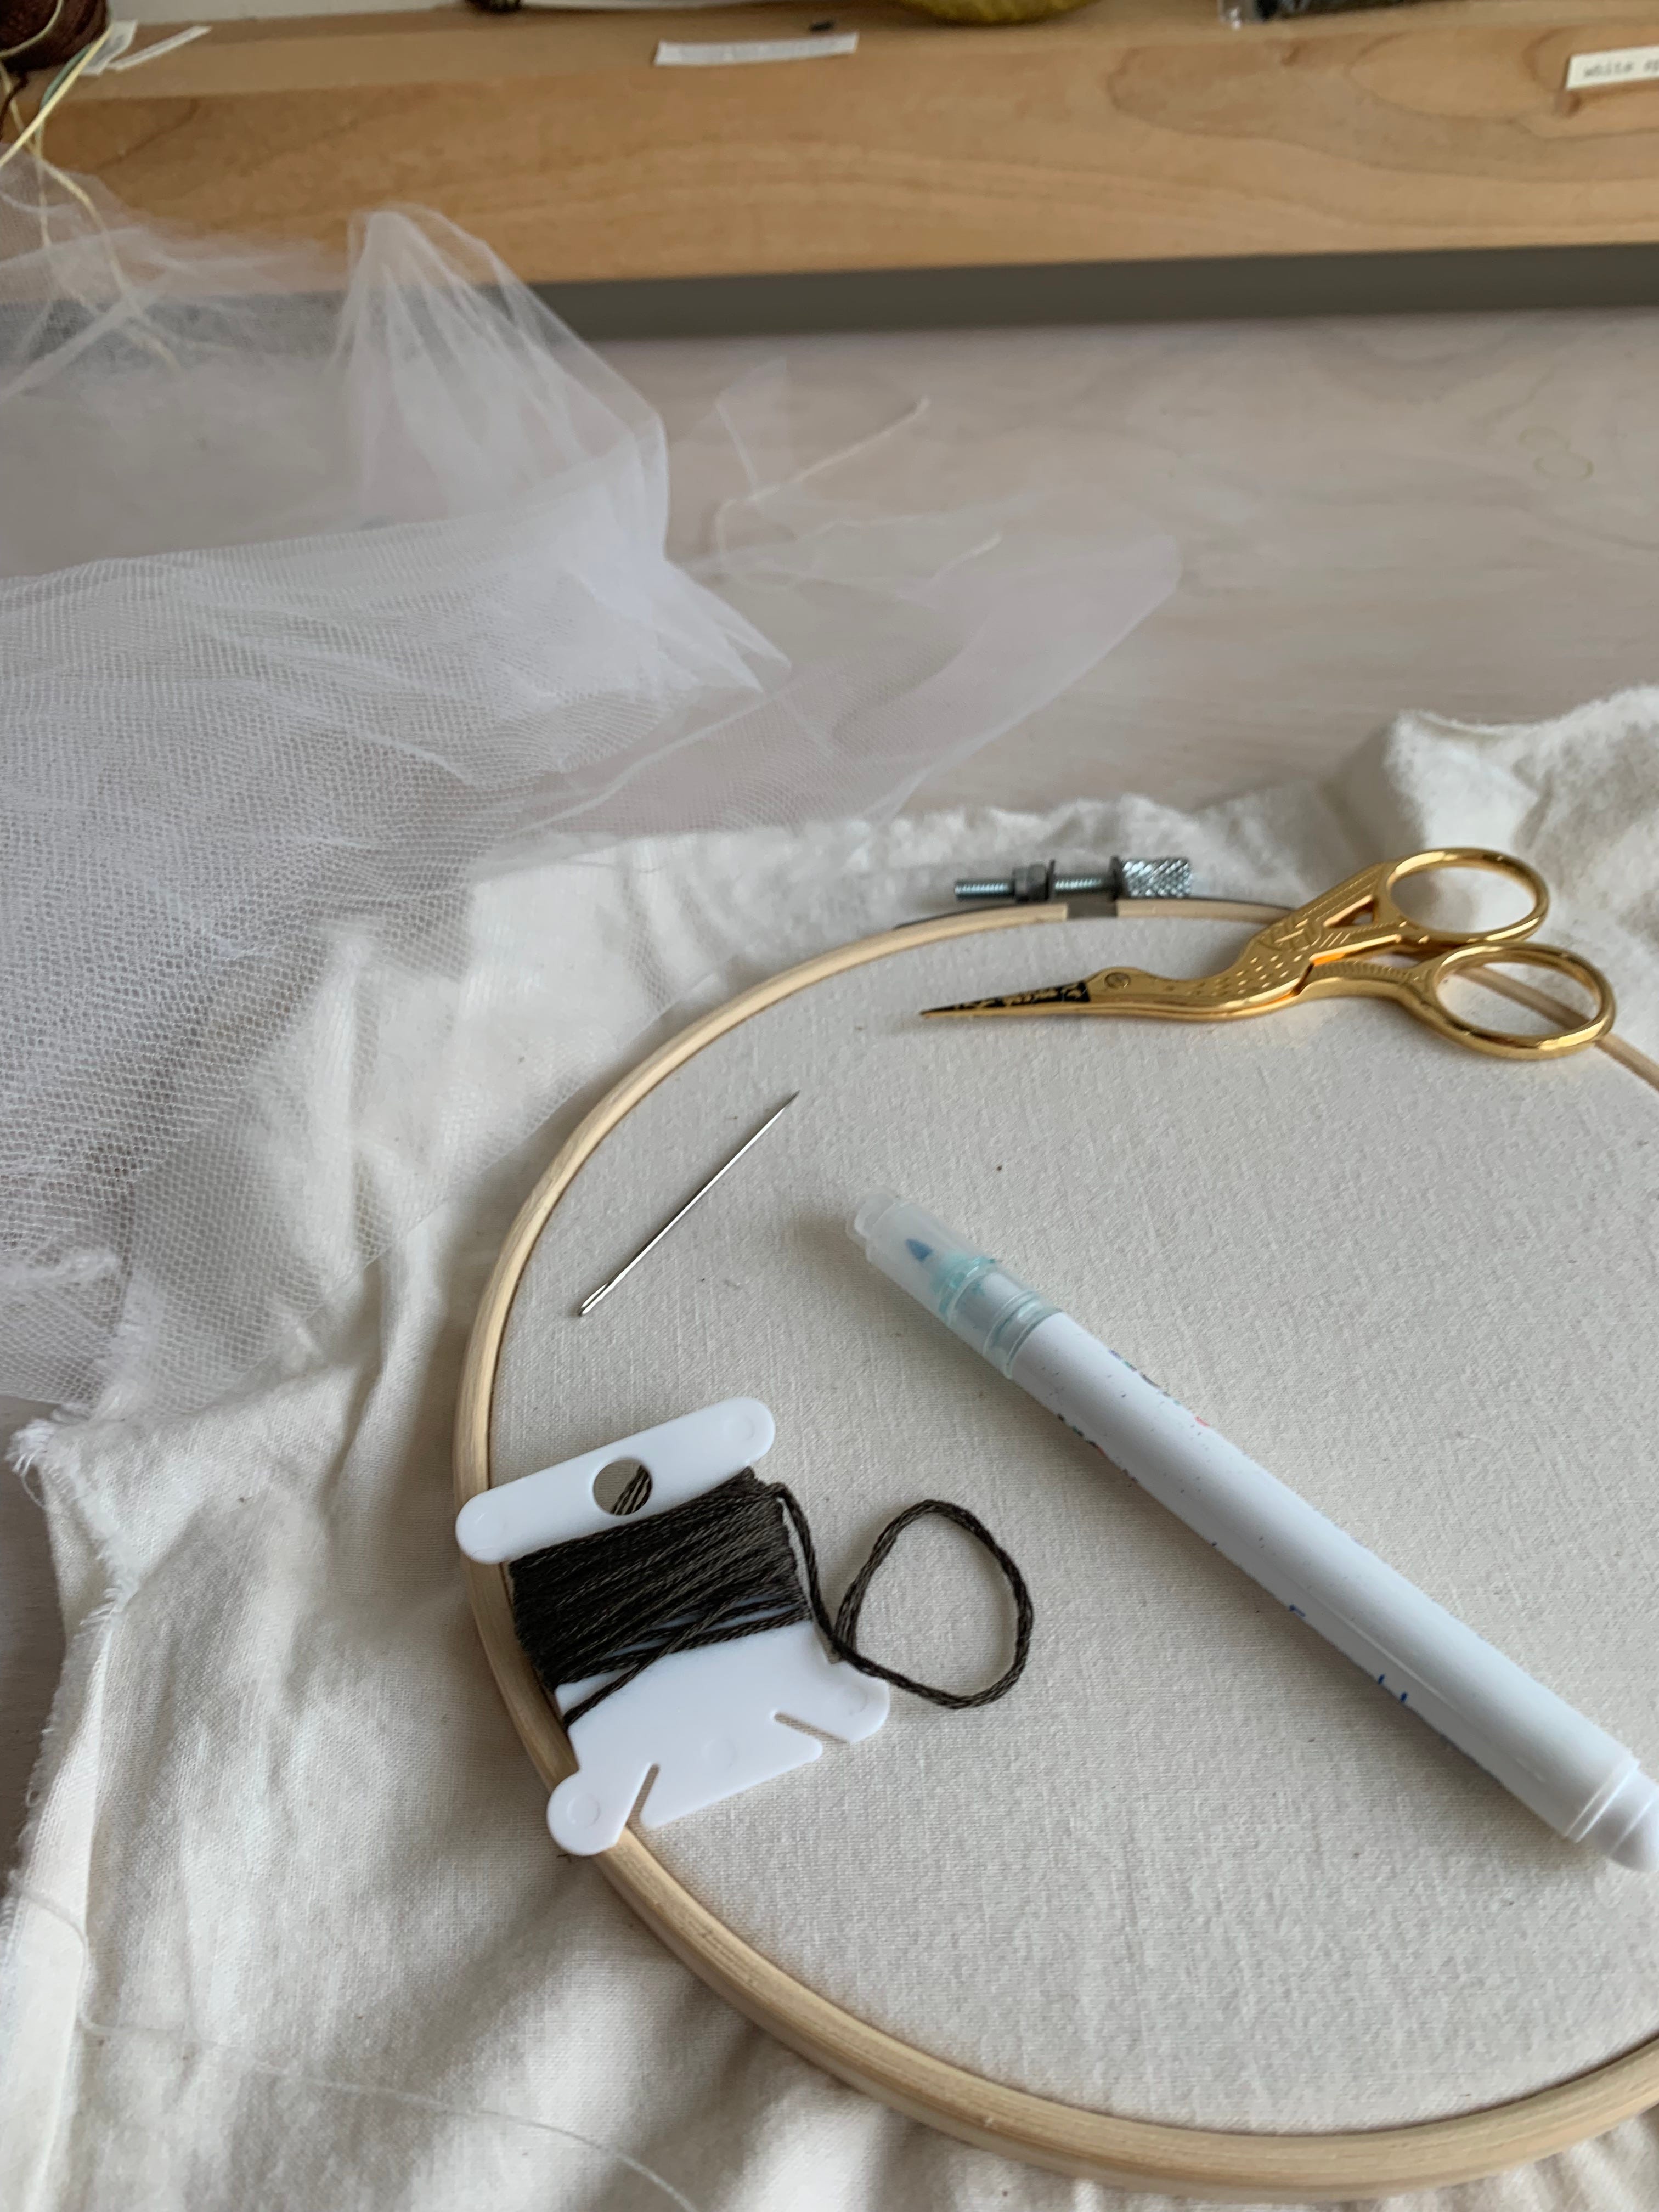
You will need the following:
Kona cotton fabric (I like the color “natural”) cut into a square that is about 4” larger than your hoop
fine mesh tulle (enough for 3-5 square layers 4” larger than your hoop)
embroidery hoop
water-soluble fabric marker
size 4 or 5 embroidery needle
grey embroidery floss (dmc #844)
embroidery snips and/or scissors
Choose your flock direction
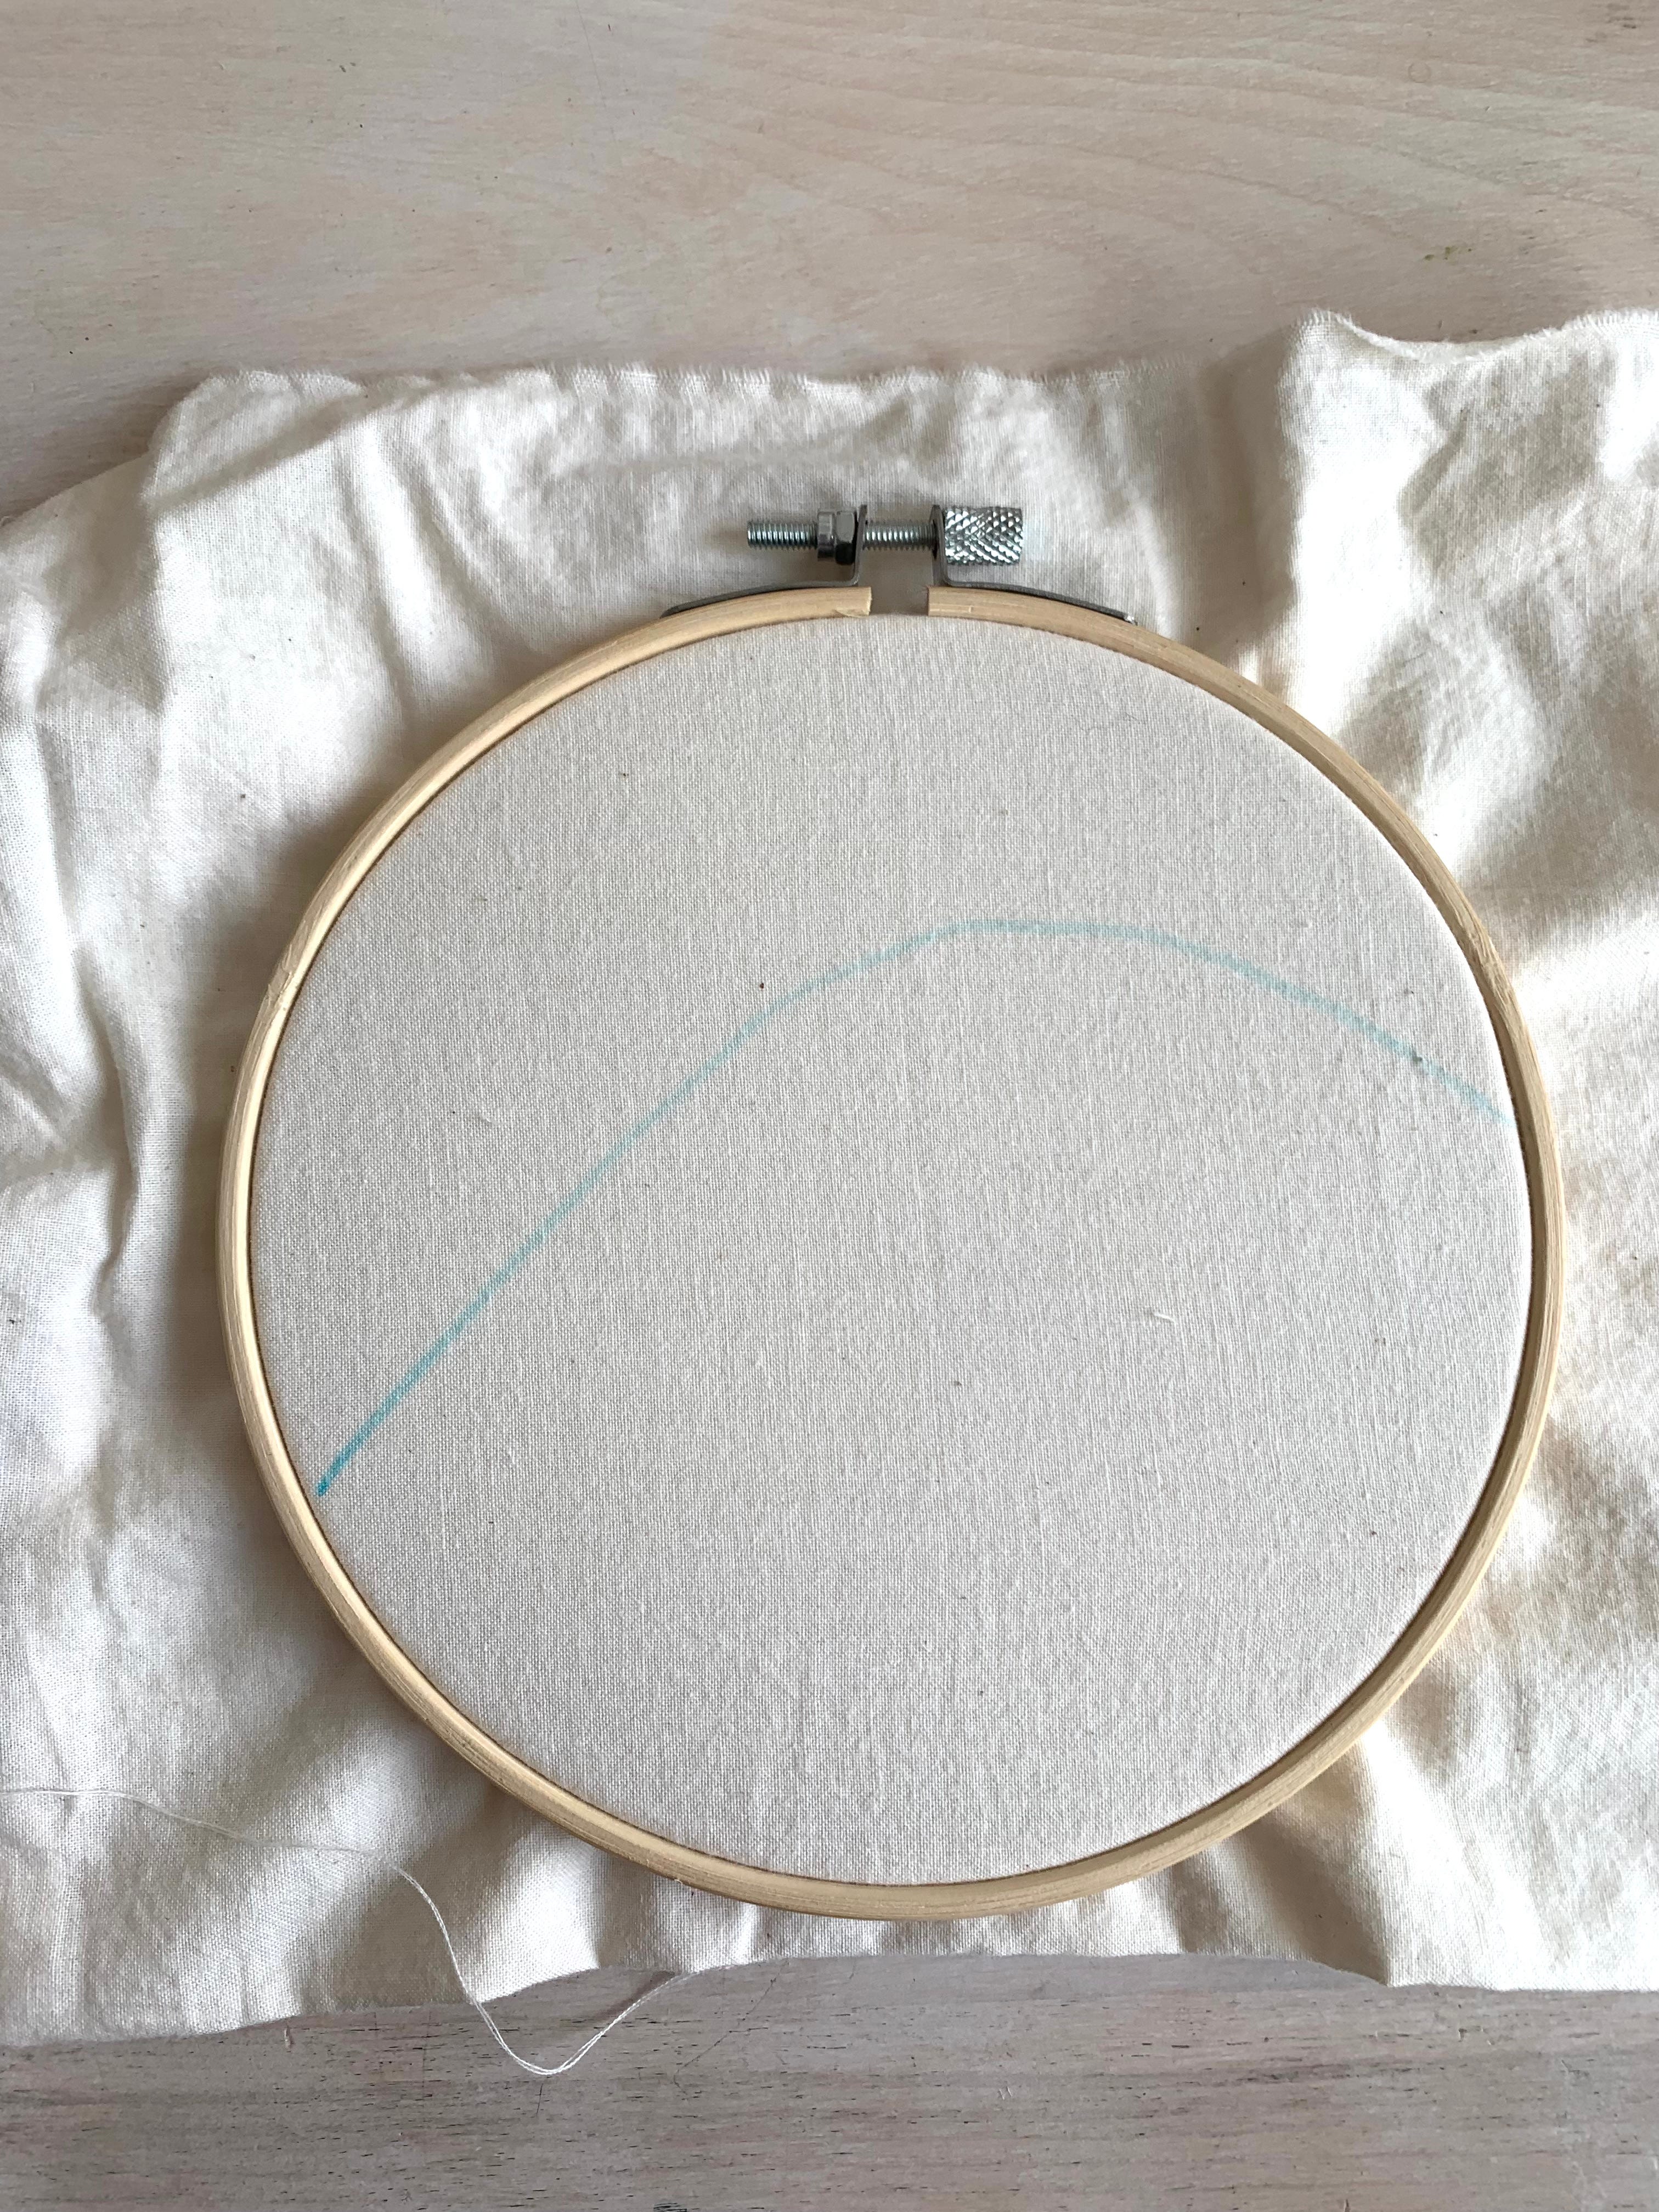
Hoop your fabric and use your water-soluble marker to choose the direction you want your flock to fly. I usually do an upward arc (like the hoop above) or a downward arc (like the letter “U”). Starting the arc a little lower or higher on one side that the other helps make it look natural.
