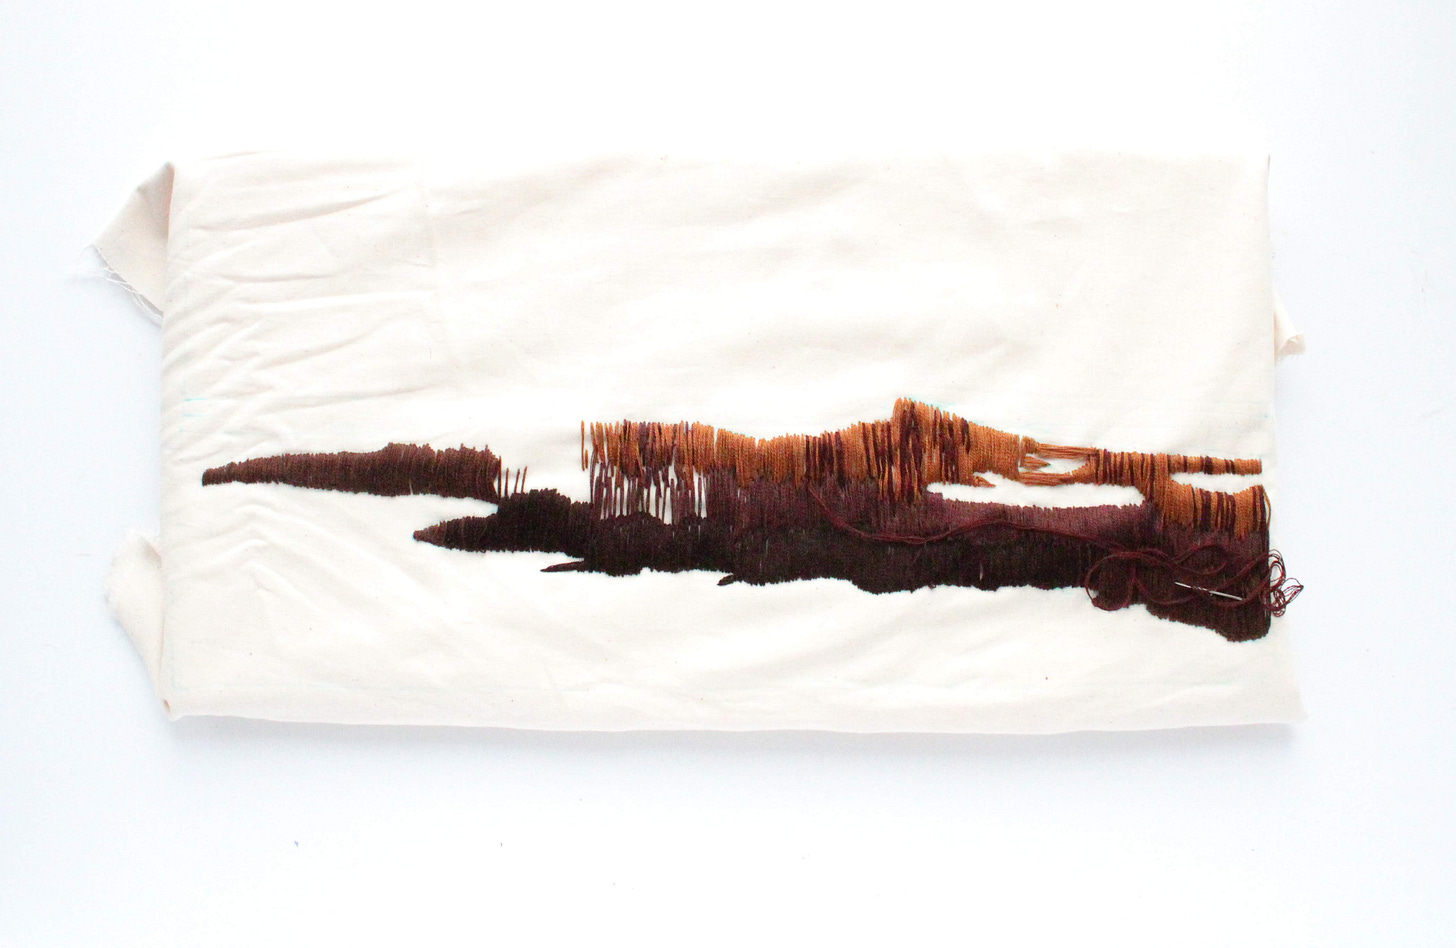
Tutorial: how to use wool roving in landscape embroidery
create texture and depth in your stitched landscape
A slow start
Stitching a landscape can be a tedious affair. Building up layers of stitches takes patience, and while it has become a meditative process for me, I still get impatient from time to time. It was even worse when I first began stitching. The first time I embroidered a field I thought long and hard about how I was going to create grass. I knew that stitching each individual blade was an insane idea, but if I created a solid layer of color first, I could then stitch isolated blades of grass on top to create the illusion of a field. Before I discovered the shortcut I’m going to share with you below, I would begin all my landscapes with a solid layer of satin stitching as this base layer of color. I would then stitch my detailed grass work on top of this layer. If you’ve ever picked up a needle you know how long it would take to fill in a large section with satin stitches. It took hours to get through the first layer of a landscape.

A better way
Satin stitching not only took forever, but the stitches also pulled and uncovered the fabric underneath whenever I stitched more grass on top. It wasn’t ideal. Then, one day I saw someone using wool roving in their embroidered pieces and a lightbulb went off. This was the perfect material for building up that base layer! To my great delight, I discovered that the wool also added a new level of texture to my pieces (texture that is very much a part of the landscapes around us).
How to add wool roving to embroidery
Keep reading with a 7-day free trial
Subscribe to Olander CO Embroidery's Substack to keep reading this post and get 7 days of free access to the full post archives.


